Overview of the OnlyOffice Document Server/Editor Integration.
What is it for?
This integration permits us to edit documents inline! In the browser, right inside Evolutivo!
Amazing!
Requirements
OnlyOffice server
We use and recommend the docker distribution. The command I used for local testing was taken from their documentation and is:
docker run -i -t -d -v $(pwd)/local-production-linux.json:/etc/onlyoffice/documentserver/local-production-linux.json -e JWT_ENABLED=false -e ONLYOFFICE_HTTPS_HSTS_ENABLED=false onlyoffice/documentserver
The local production settings file sets two variables to permit working from private or internal IPs. You won't need this if you are installing on a server that has a domain and is accessible on the internet. In that case, you have another set of steps to configure the certificates. We also need to set the assemblyFormatAsOrigin to false.
My local-production-linux.json file is:
{
    "services": {
        "CoAuthoring": {
            "server": {
                "assemblyFormatAsOrigin": false
            },
            "request-filtering-agent" : {
                "allowPrivateIPAddress": true,
                "allowMetaIPAddress": true
            }
        }
    }
}
Note: the documentation my team has created says that assemblyFormatAsOrigin must be set to false as in the settings file above. This did not work for me. I was getting an "invalid conversion error 88" with that value set to false. I had to set it to true to get the document save process to work. What I was told is that with this variable set to true some formatting was lost, especially in the header of the templates. Be careful and adapt to your situation. Share your experience with us, it will others.
Now we need to configure Evolutivo.
Evolutivo configuration
First, we set the OnlyOfficeDocumentServer_URL to the URL of the DocsAPI, like this:
http://b8637cc5b8ae/web-apps/apps/api/documents/api.js
where b8637cc5b8ae is the docker container ID. Note that the Evolutivo installation must be accessible on the same network. Be careful with docker networking. If you are configuring on your domain then the URL will have that domain and the port where you configure the service.
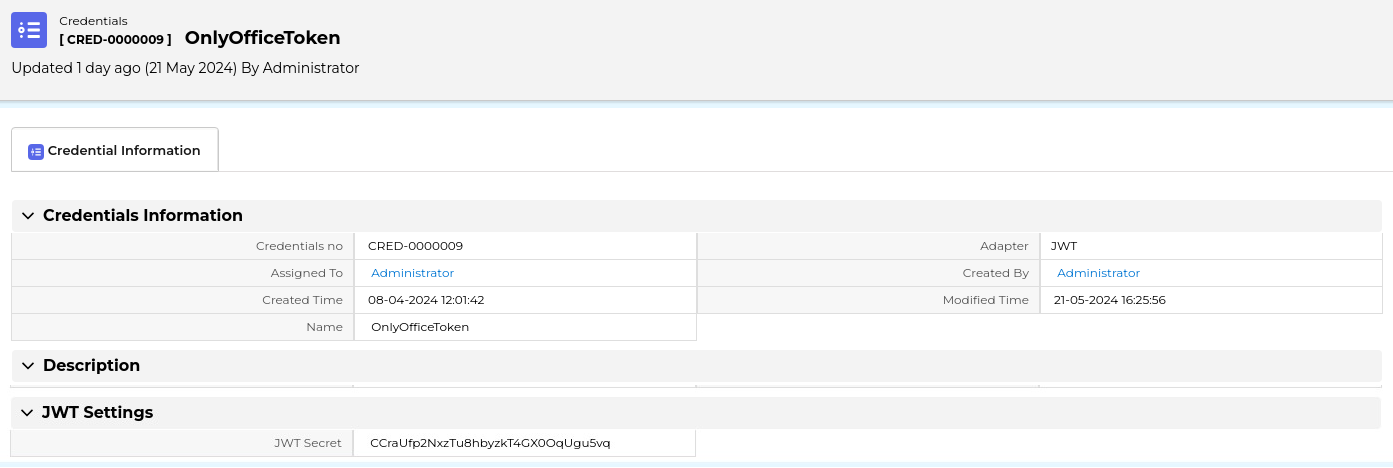
Next, we have to set the JWT credentials record. In the Credentials module, we create a new record named OnlyOfficeToken with type JWT and in the JWT Secret field we have to use the JWT generated by the docker container. I suppose we can set this value using the JWT_SECRET environment variable when stating the container but I used the next command to retrieve the randomly generated token:
docker exec b8637cc5b8ae /var/www/onlyoffice/documentserver/npm/json -f /etc/onlyoffice/documentserver/local.json 'services.CoAuthoring.secret.session.string'
Note that all these values are important and must be set as explained.
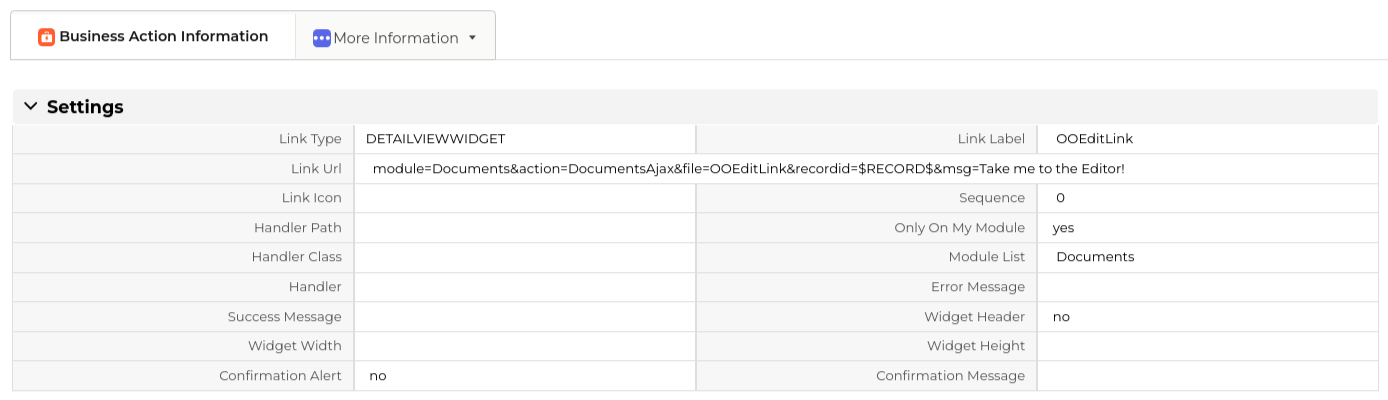
Now we have the OnlyOffice integration configured and we have to activate it in the documents module. We have to define two business actions, one to show the edit link in the module and the other to load the functionality.
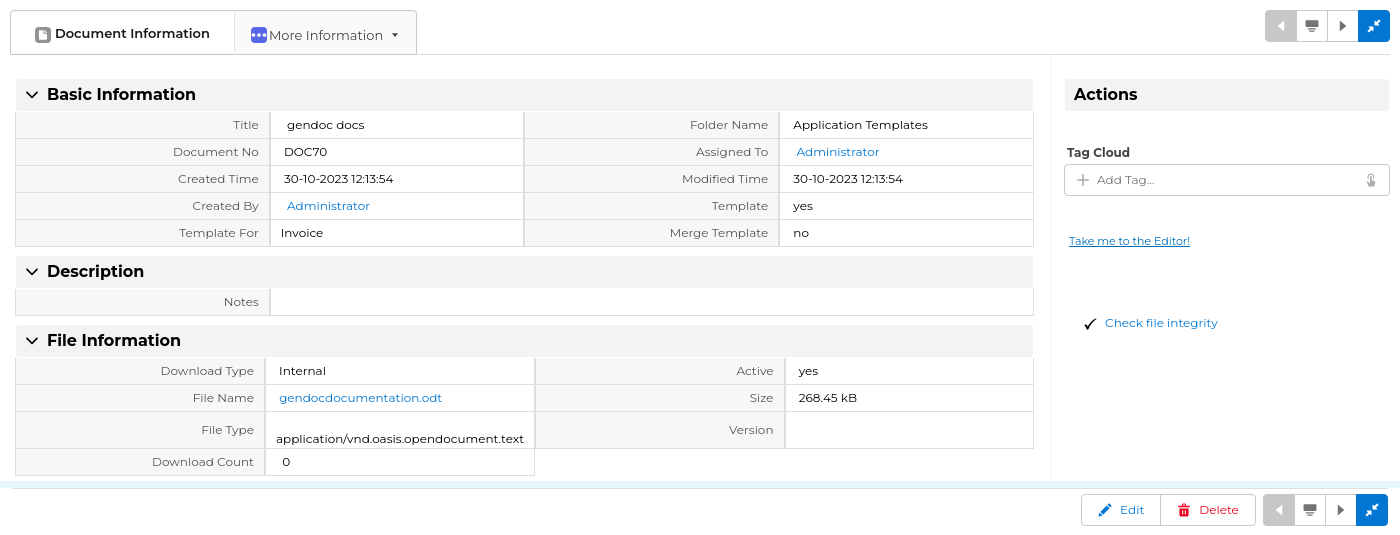
Edit Link
DETAILVIEWWIDGET: module=Documents&action=DocumentsAjax&file=OOEditLink&recordid=$RECORD$&msg=Take me to the Editor!
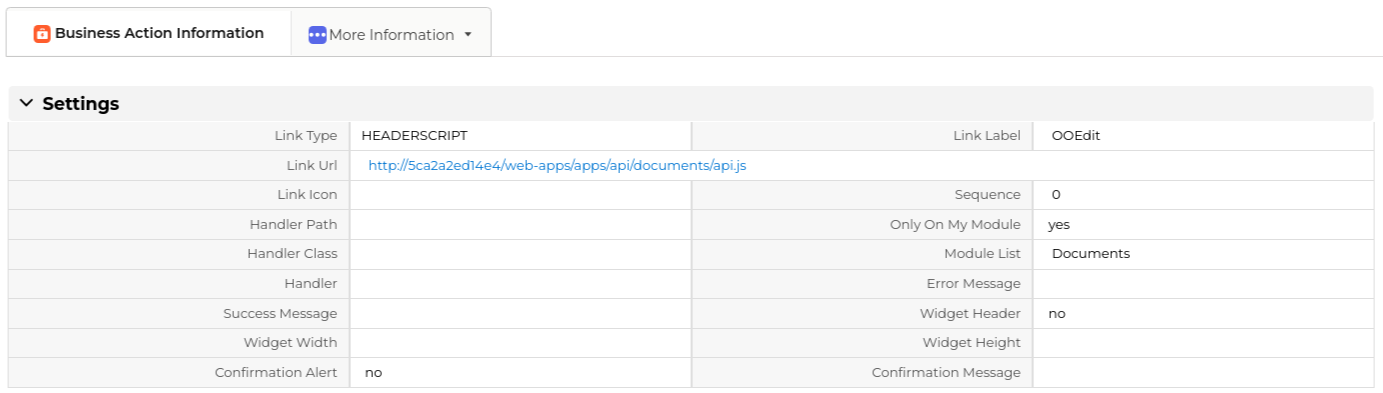
Code Link
HEADERSCRIPT: http://b8637cc5b8ae/web-apps/apps/api/documents/api.js
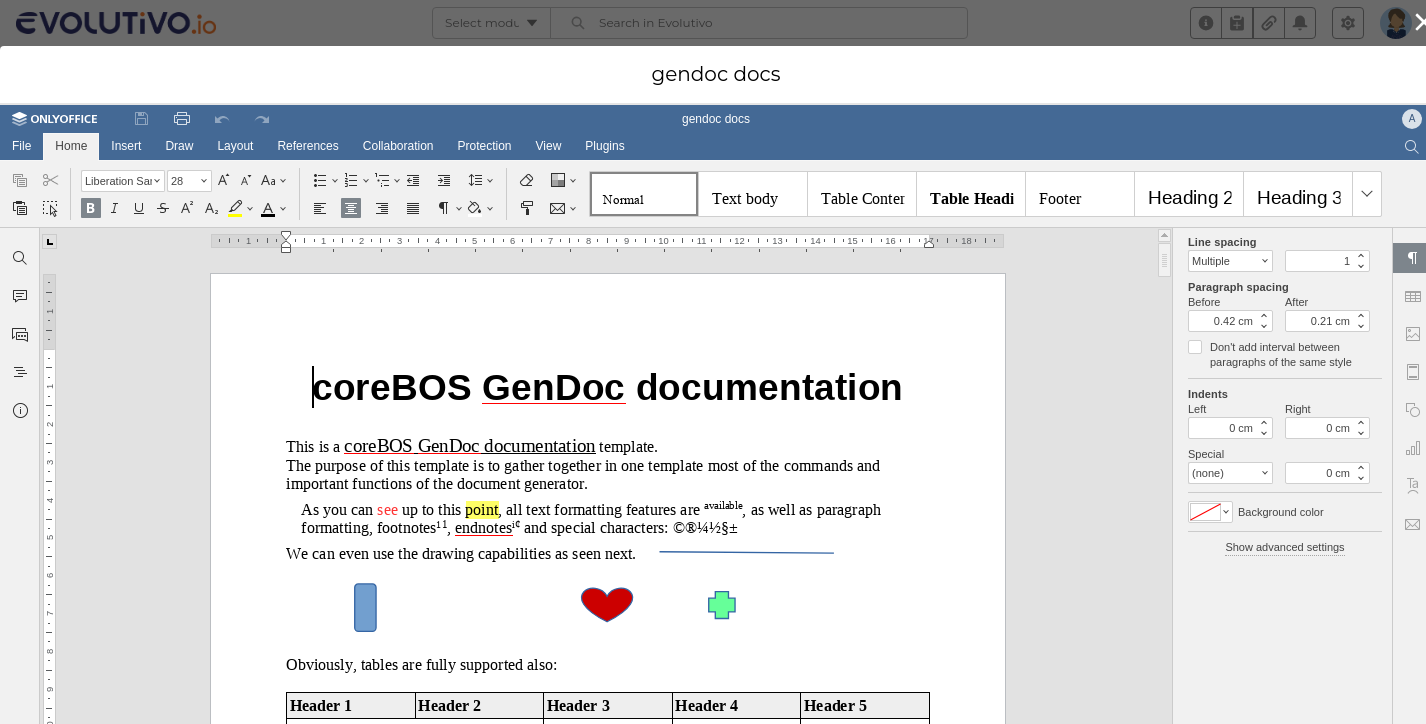
How does it work?
Just click on the link. If everything is configured correctly the OnlyOffice editor will appear with the document loaded. You will be able to edit and change the document as you please. Once you are finished you can close the editor and wait about 10-20 seconds for it to be updated. After that the changes you made will be directly reflected in the document record and the version will be incremented. Note that the detail view is not reloaded, so you will have to reload the screen to see the field value changes.
Learn more in this video:
Conclusions and future
With this integration, we bring to the application three important use cases.
One is to edit the GenDoc templates. This is very important as the creation of templates is an ungrateful task that consists of many change-and-try iterations. We had the WebDAV integration and also you could do a direct edit of the template if you had a local copy installed, but this integration makes it a lot easier to implement templates.
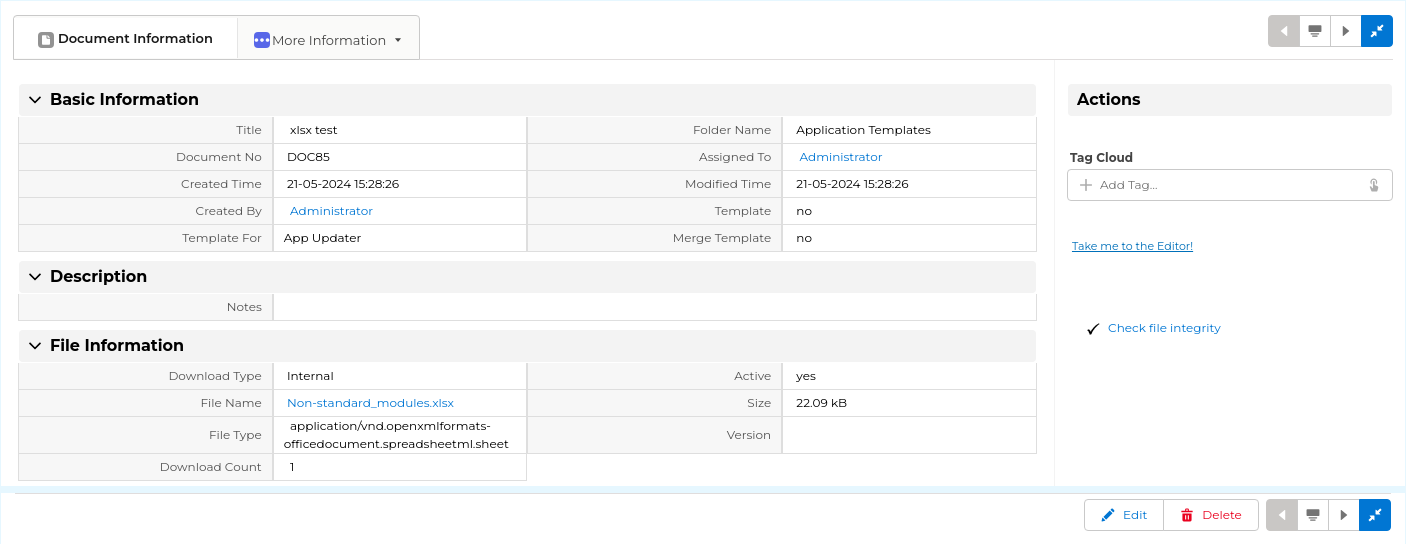
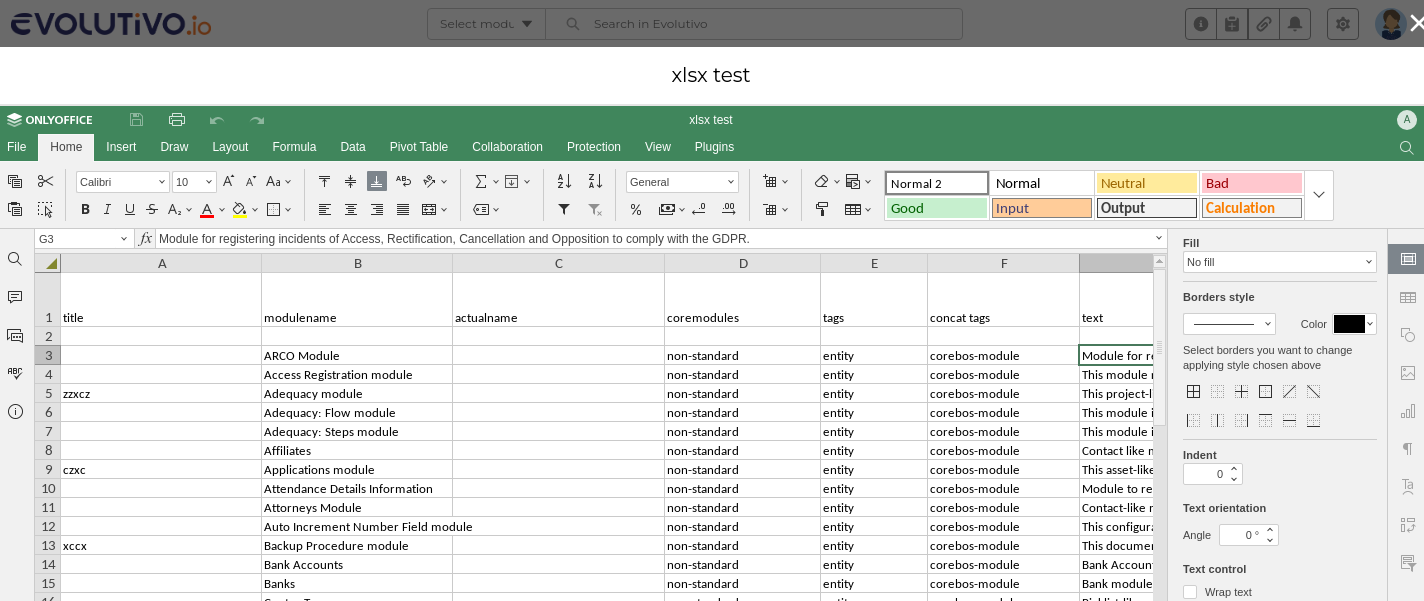
The other is for those Evolutivo users who use the system as a document management system. Sharing documents and making changes to those documents has just become extremely easy for them.
The last use case is another stab at killing PDFMaker. PDFMaker has a functionality named "Edit and Export". This functionality was not possible for us using GenDoc because after the merge we end up with an OnlyOffice document, not some HTML text that can be edited in the browser. Now we have a full-fledged Open Office document editor in the browser and can implement an equivalent functionality.
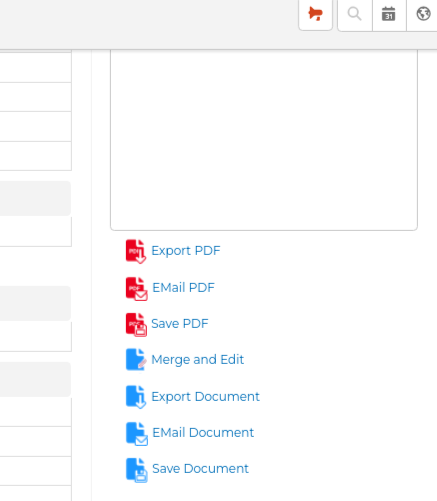
The functionality isn't the same because we don't generate the PDF after making the changes. We generate the merged document, open it in the editor and save any changes you make to it in the corresponding Document record. If you need it in PDF format you will have to export it from the editor before exiting or opening again the document from the document record. Anyway, it is pretty close.
The "Merge and Edit" link will automatically appear as soon as you create the OnlyOfficeDocumentServer_URL global variable, nothing else is needed.
Awesome!
The future? Unstoppable!
Post Edit
After publishing this post I was asked to get the configuration working under httpS with letsencrypt certificates. I decided to use the Proxy HTTPS to HTTP from the documentation page.
I installed docker-hoster to be able to reference the images internally and added restart and name to the docker run command:
docker run -i -t -d --restart=always --name ooevolutivo -v $(pwd)/local-production-linux.json:/etc/onlyoffice/documentserver/local-production-linux.json -e JWT_ENABLED=false -e ONLYOFFICE_HTTPS_HSTS_ENABLED=false onlyoffice/documentserverThen, in the Apache configuration file, I followed the indications in the documentation to construct something like this:
<VirtualHost *:443>
    ServerName your.domain.here
    SSLProxyEngine on

    SetEnvIf Host "^(.*)$" THE_HOST=$1
    #RequestHeader set X-Forwarded-Proto "https"
    RequestHeader setifempty X-Forwarded-Proto https
    RequestHeader setifempty X-Forwarded-Host %{THE_HOST}e
    ProxyAddHeaders Off

    RewriteEngine On
    RewriteCond %{HTTP:Upgrade} websocket [NC]
    RewriteCond %{HTTP:Connection} upgrade [NC]
    RewriteRule ^/?(.*) "ws://ooevolutivo/$1" [P,L]
    ProxyPreserveHost On
    ProxyRequests On
    ProxyPass / http://ooevolutivo/
    ProxyPassReverse / http://ooevolutivo/

    SSLCertificateFile /etc/letsencrypt/live/your.domain.here/fullchain.pem
    SSLCertificateKeyFile /etc/letsencrypt/live/your.domain.here/privkey.pem
    Include /etc/letsencrypt/options-ssl-apache.conf
</VirtualHost>
It worked directly. There are some interesting alternatives. I was very tempted to follow the configuration they have where the container itself manages the certificates instead of having to manage them at the server level.
HTH
